Auto Generating Dithered Blog Images
🗓 posted Oct 01, 2024 by Josh Erb🔢 2049 words
🏷 #web #development
I've been updating this blog more regularly because of my recent move to India. Previously when I've traveled, I've used 3rd party platforms to host my travel updates. So, oddly enough, this is the first time I've been "travel blogging" on a site where I control every aspect of the build & publish process.
It's a bit embarrassing that this didn't occur to me sooner, but there were a few things I hadn't considered when I first started posting travel updates. The biggest one: the photos I take with my iPhone are much higher quality than the ones I was taking with a standalone point-and-shoot digital camera 15 years ago. Another more obvious one: 3rd party platforms like Blogger typically preprocess the images you upload and will resize & compress them however they see fit.
After I published a few travel posts here on my own domain, I quickly realized that my naïve approach of using ImgBot to optimize any pictures I uploaded wasn't going to cut it.[1] I came up with two potential ways to solve this problem, one boring and one kind of fun. The boring way would have just been to write a quick little script to manually resize & aggressively compress all my recently uploaded images. The fun way, which I ended up doing, and also the reason for this post, was to generate 'dithered twin' images & find a clever way of swapping them out if a user wants to interact and get the full quality image.
Why Dithered Images?
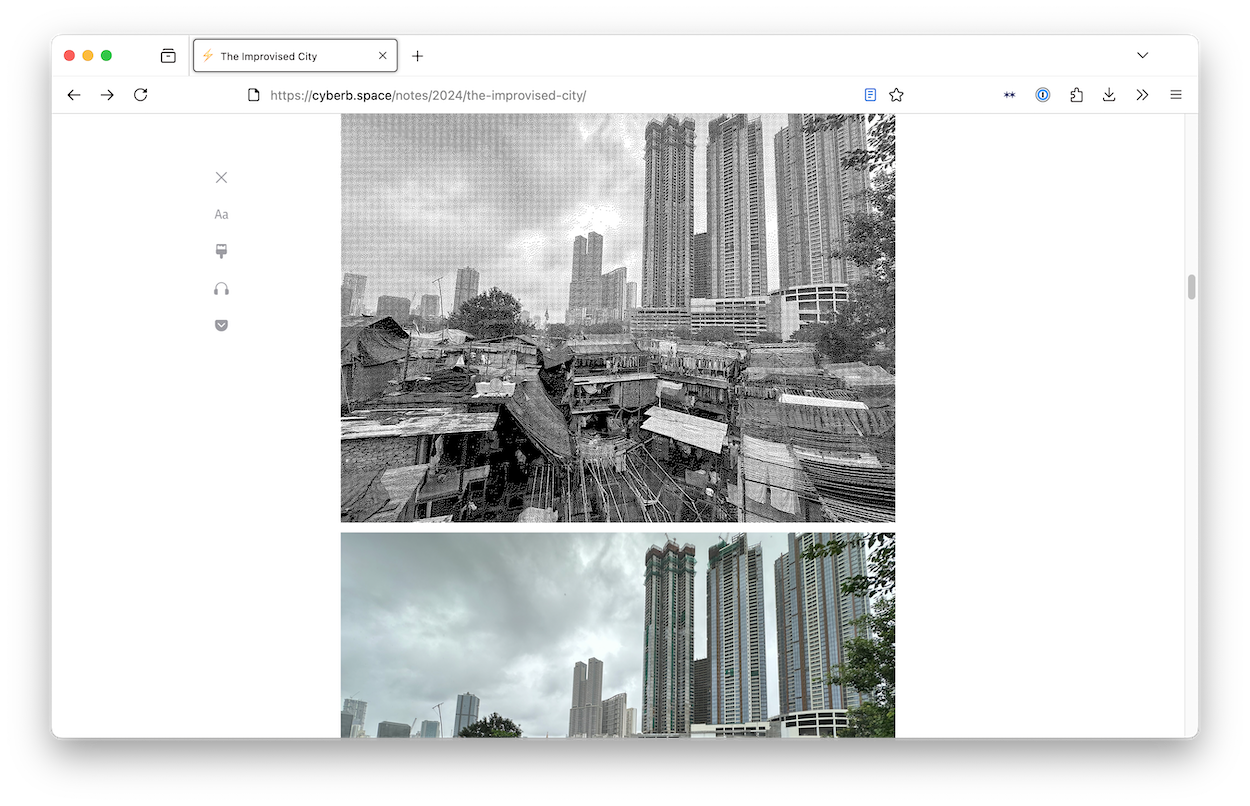
I am well aware that black and white dithering is not a cutting edge compression technique. However, it's been on my mind since I read this great post by Low Tech Magazine a few years ago.[2] Aside from my primary motivation (i.e. dithering is cool and matches my site's visual aesthetic), it's a great way to generate significantly smaller versions of my posts' images. As an example, on one of my recent travel posts the largest image I added to the post was 2.79MB. The black & white dithered copy that I generated for this is 341.49kb. That's nearly an 88% reduction in size!
That's the "why". The rest of this post is about the "how".[3]
Dither me this
One beautiful thing about programming and having access to the internet is that if you have an idea about doing something, there's a non-zero probability that someone else has had a similar idea and published their results. I was incredibly lucky to discover that someone had been thinking about dithering images using node.js recently enough and published their library (dither-me-this) via npm. If @DitheringIdiot had not done this, then it would have taken several weeks to get the results I wanted for my images.[4]
Once I had this library installed, I wrote up a little script and quickly confirmed that I wanted black & white dithering (no additional colors) and that it would work well with the PNG image files I was using.
Design considerations
I didn't want to discard my original images after I had dithered copies. If visitors to the site want full detail, I wanted to give them a way to interact with the image & see it in full quality. However, I also wanted to make sure that the original image was loaded by the time a visitor might interact with it.[5] As a result, the standard practice of updating the src of the image element, was a non-starter. Also, I prefer not to add JavaScript to this site if I can help it.
Hypertext and sleight of hand
I had a hunch that there was a clever way to do this with just HTML and some CSS, but I was struggling to get it right. I came across this Stack Overflow comment and realized that this was a concise and legible approach that suited my needs. Including both images in the HTML means they are both loaded by the browser when the page is loaded, and I can conceal the slow load times of the larger images by making them invisible until a visitor interacts (hovering on desktop, or tapping on mobile) with the dithered copy I display by default.
Now, since mobile doesn't allow for :hover interaction, I also applied this rule to the :focus interaction for the custom class I wrote. This is a simple way to recreate an on-click interaction for mobile devices without relying on JavaScript.
My final implementation for a dithered blog image looks like this:
HTML
<div class="dithered-hover">
  <img src="img/dithered-image.png" class="blog-pic container" />
  <img src="img/image.png" class="blog-pic container" />
</div>
CSS (source)
div.dithered-hover img.blog-pic:last-child {
    display: none;
}

div.dithered-hover:hover img.blog-pic:last-child,
div.dithered-hover:focus img.blog-pic:last-child {
    display: block;
}

div.dithered-hover:hover img.blog-pic:first-child,
div.dithered-hover:focus img.blog-pic:first-child {
    display: none;
}
The CSS looks more complicated because I wanted to make absolutely sure that I am only applying this affect to images are using the classes I expect. But the reality is, I'm just toggling the visibility of two images within a <div> based on whether they are the first or last child element of that <div>.
The only downside to this approach is that it if you use reading mode, it strips out my CSS and you'll just see two images stacked on top of one another:
At the end of the day, I decided I could live with reader mode being a little broken.
Easy living with shortcodes
With any technical updates to this site, I'm forced to ask myself if it's worth putting in the time to make it as easy as possible to use or if I can be happy with a manual process. With this project, I decided from the outset that it should be very straightforward to include dithered images in a blog post. I also knew that I didn't want to do it completely by default so that I still had the option to include non-dithered photos if I felt like it.
Since I've learned about shortcodes and how my static generator supports them (ref. How I Added Maps to my Travel Posts), I knew pretty early on that I didn't want to have to copy and paste boilerplate HTML between my posts' files.
I started out by deciding I my shortcode would be this simple:
{% dither "/relative/path/to/image.png" %}From this starting point I built out an async shortcode that takes an image path string & returns the expected block of HTML.[6]
First attempt: generating the images at build time
My initial thought was that the best way to do this would be to generate the dithered copy at build time. I did this pretty naively within my shortcode (you can see this attempt here), but quickly found that this caused my site's build time to become unacceptably slow. Instead of taking ~3 seconds to build the whole site it started taking ~30 seconds, and I was only generating dithered copies for a handful of images. If I kept going down this path, my build time would increase with every dithered image I added to my blog. This would be unsustainable.
At this point, I got a bit frustrated. Would I not be able to set this up to happen automatically? Would I need to remember to run a script manually any time I added new images to a blog post?
Second attempt: reducing manual toil with automation
As I was reworking my dithering code to be a standalone script that I could run on my local machine, I remembered a very insightful blog post from a former colleague where she mentions using a GitHub action to push a commit to a specific branch.[7] It was a short trip from this realization to writing a script that checked for any images without a dithered twin & generated one if necessary. Now, for every commit I push up to my site's repo, this script runs. If it finds a non-dithered image, it will generate one, commit it, and push it to the branch I'm working on.
Here's an abbreviated version of my workflow's job definition (full source here):
dither:
  runs-on: ubuntu-latest
  steps:
    ...
    - name: Generate dithered copies
      run: npm run dither
    - name: Check for changes
      id: check_changes
      run: |
        if [[ -n $(git status --porcelain) ]]; then
          echo "changes=true" >> "$GITHUB_OUTPUT";
        fi
    - name: Commit results
      if: steps.check_changes.outputs.changes == 'true'
      run: |
        git config --local user.email "action@github.com"
        git config --local user.name "GitHub Action"
        git add -A && git commit -m "👾 dithered images"
        git push origin ${{ github.ref_name }}
In plain language, the job will setup and run my dithering script. If the script generated any new images, these will be detected and committed to the branch that triggered the check.
Of course, I also gave myself options. If I'm doing local development and want to check how something looks, I can still generate a dithered twin easily using the npm run dither. Because I've written the script to check if a dithered copy exists before doing anything, if I decide to push up the generated image it won't cause me any headaches.
Guardrails & strategy going forward
Over the course of putting this in place, I made sure to put in some guardrails to make sure I'm using this as expected. The first are simple ones: have 11ty throw an error if I try to use my dither shortcode for any files that are not PNGs, don't let 11ty build successfully if I've used my dither shortcode without generating the corresponding twin image, don't dither an already dither image, &c.
I've also realized just how big the images I was adding from my iPhone were, so I've added a small manual step of reducing the size of the .heic files when I convert them to .png on my machine. I didn't think to do this originally and that's part of why the files I've added to my previous travel posts are so large. I'm leaving those in place, but going forward my goal is to keep any new images to below 1MB per image to keep things snappy.
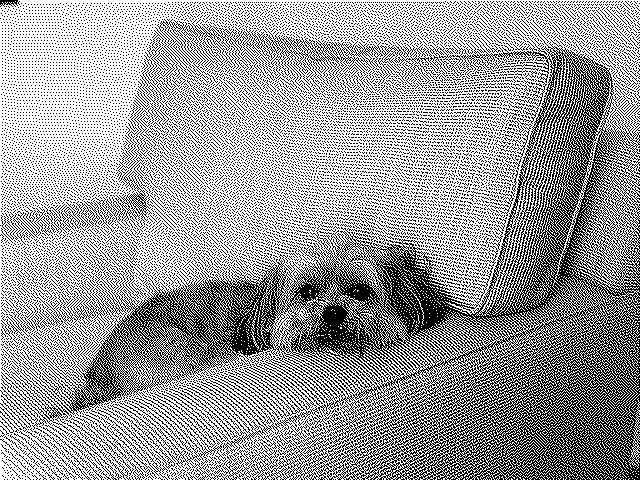
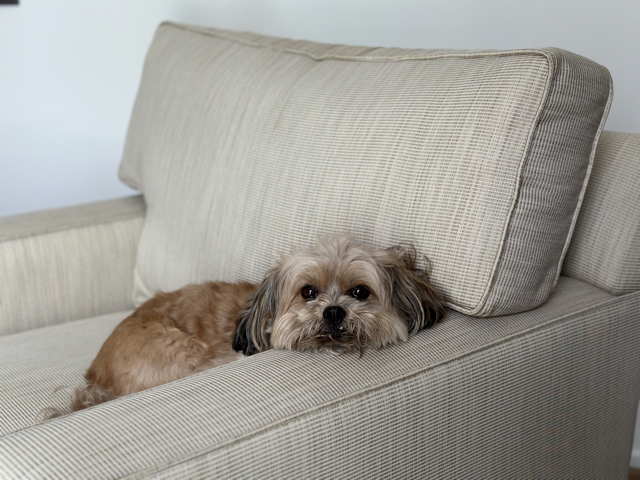
Thanks for reading to the end! As a small token of appreciation, here's my dog Myron watching me work on this project:
Worth mentioning that I probably would not have noticed this if I was not loading up my site on slower internet speed than I used to have in the states. Which is just a nice reminder that, if you're building something for a global audience, you should see how it does on slower internet.
Revisiting this Low Tech Magazine article now, I can see that it's served as a bit of a touchstone for my design philosophy with this site over the years.
If you're interested in a less polished account of how I did this, you can also see my process directly by reading the issue I used to track this and the pull request where I implemented my solution.
And, if I'm being completely honest, I likely would have put this project on the backburner and not come around to it for several more months.
A very talented engineer I used to work with once gave a talk about "perceived performance" and I still reference it to this day. It's a very good talk.
I'm simplifying here a bit. I also added a check to make sure I don't accidentally use the shortcode with files that are not PNGs. This shortcode went through several iterations before landing on its final iteration.
The excellent Katy Decorah's How I built a now reading feature.
<< all notes.